Showing posts with label tutorial. Show all posts

Sunday, 24 March 2013

How To:

 Am I seriously writing this post?
How to cut a fringe?
This is the most straight forward of all of the home-haircare-related projects! Right?
Wrong! At least for me anyway...
No matter how hard I tried I always used to balls up my fringe when I tried to cut it at home, I either cut it too short and with a weird bowl-effect or I cut it lopsided.
After trawling YouTube for ages I found a brilliant method used over and over again, which involves a clever little trick that guarantees a straight, Zooey Deschanel type fringe (I wish) every time.


This is all you need! (and a comb, of course.)
No fancy sheers or razors required, just a super sharp pair of scissors.

1) Brush your fringe forward, plus any other stragglers that you wish to include to bulk out your fringe, if you have thin hair like myself.

2) Once you have your desired amount of 'fringe hair' clamp it together at the point where you want your fringe to end. Always cut your hair dry, if you cut it wet, it'll probably dry about half an inch shorter... and you'll end up looking like the lady from National Accident Helpline.

3) Taking the hair in the opposite hand in which you use to write, twist over and hold it flat against your head.

4) Cut in a straight line, slowly and carefully, just below your fingers. It's always better to leave your fringe slightly longer, so you can correct any mistakes... which are unlikely with this technique!


Look how much I lopped off!


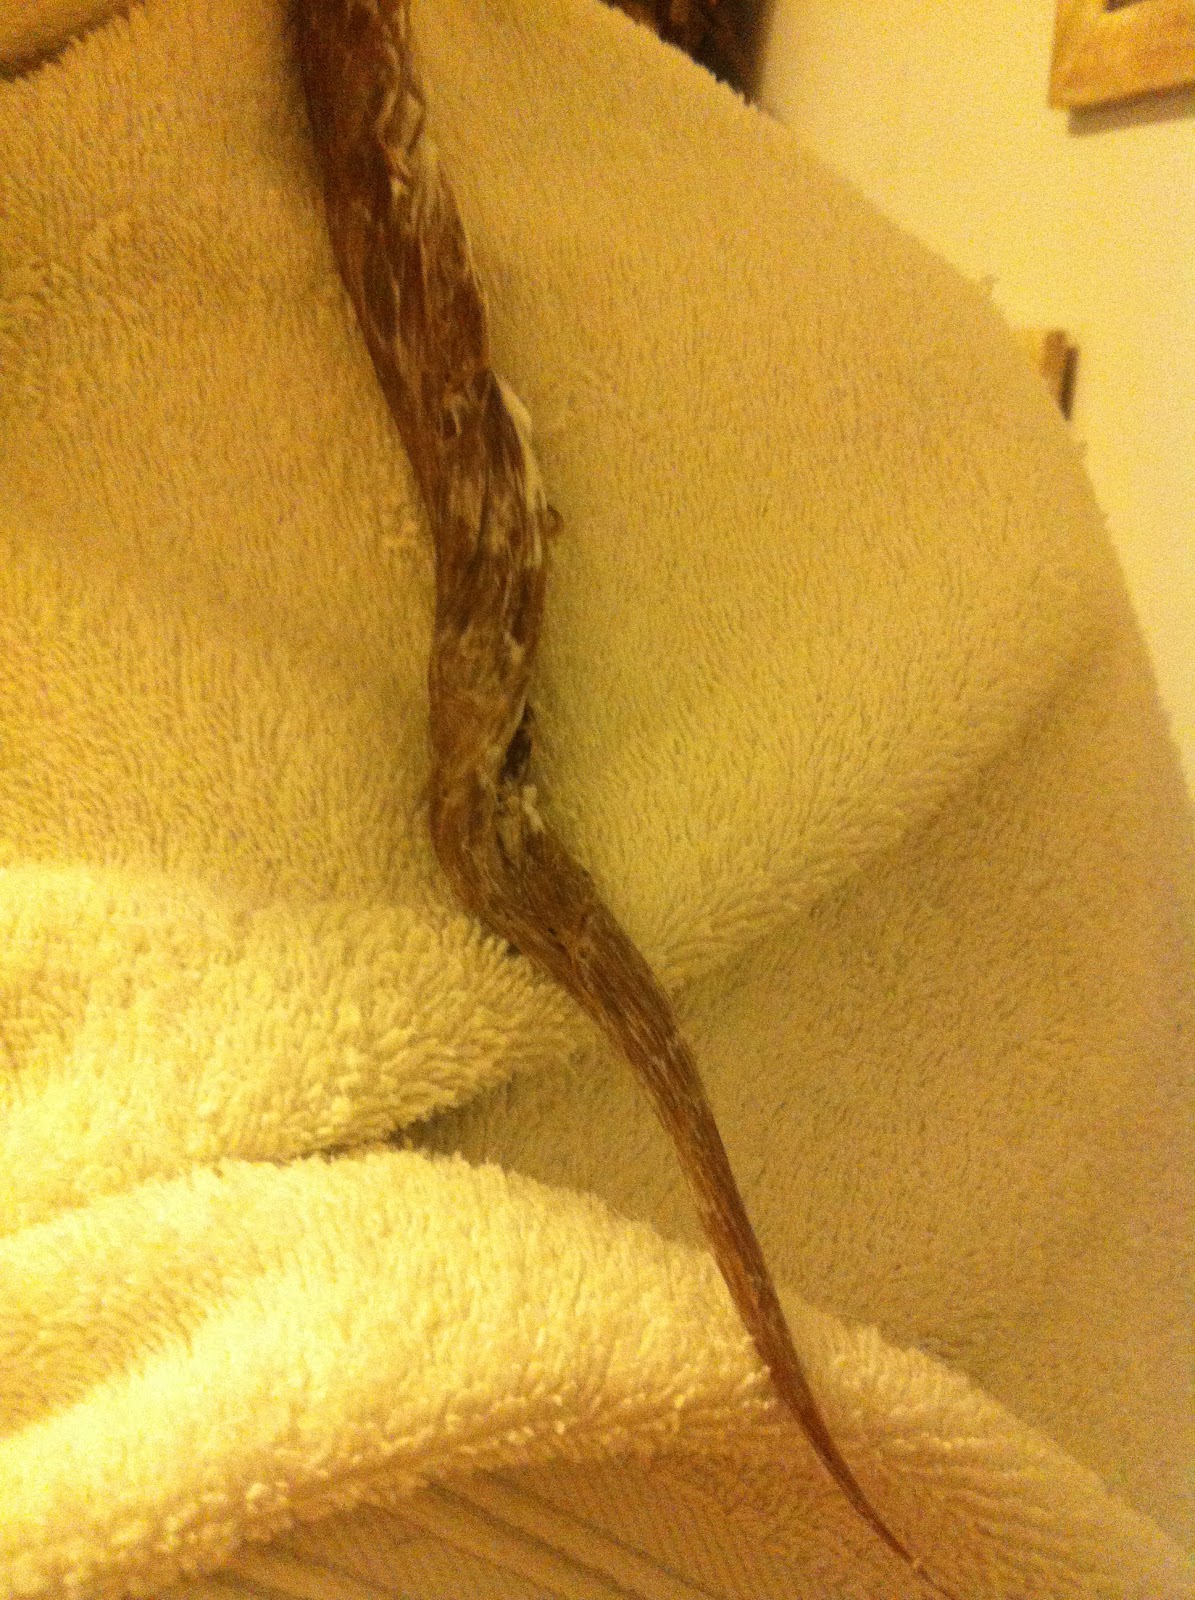
Wash your hair as you usually would and leave to semi-dry in a towel...


To achieve a really thick, glossy fringe, these are the products I will usually reach for!
Umberto Giannini is a firm favourite of mine, I've been using his products for soooo many years and will always ALWAYS put his 'Instant Beauty Leave-In Conditioner' on my hair. It is a lifesaver when it comes to split ends.
Nick Chavez and KMS are two wonderful little volume and thickness boosting products I received in my Birchboxes, I will definitely be buying the full-sized versions of these soon... would you believe that I received KMS's 'Add Volume' in January and there's still loads left? A little goes a long way with luxury products!


After blow drying my hair, here is the finished look!
A dense, glossy fringe that frames the face and hides unruly eyebrows.
This is so easy to do at home, and is a great little trick to add to your at-home beauty regime which saves you lots of pennies!

Let me know if you use this technique, and tell me how you get on!

Love,
Laura xxx

Friday, 8 March 2013

Accidental Discovery!


So this is actually a post about laziness and accidents.
I firstly wanted to make mini-quiches... but couldn't be bothered to make pastry.
So I then decided to make 'No-Pastry-Quiches' and try to fob it off as being healthy and calorie-conscious rather than me being a LAZYBONES.
Then they actually turned into delicious fluffy souffles. All's well that end well I suppose, but here's how I achieved it, without the all the cheating and failing it took to get there!


I'm getting quite good at using up my leftovers, you could chuck anything into this mix as long as it contained eggs. I had Mozzarella, Tomatoes and Pesto leftover from dinner with a friend the night before, and the two eggs from the night before that, so everything pretty much needed using up fast!

Firstly, I beat two eggs into a bowl, added salt and pepper then chopped my chives and tomatoes into the gloopy mix. So simple, so quick. Two minutes = Done!


Next, I grated the leftover Mozzarella into the mix, which was surprisingly difficult, I would have saved more time and washing up if I'd just torn it into little strips with my hand. 
Good to know for next time though!


Once your ingredients are all combined, grease your little individual pots with butter, or margarine and fill with the mixture.

Bake in a tray, in an oven pre-heated at 200 degrees for (roughly) 20mins.

I don't know why I was so surprised to see that these had risen to such a great height (the photo doesn't do them justice) and why, for all of the yolk they contained, they had ended up so fluffy and light... but I wasn't going to complain!


Not a gourmet-looking souffle but a damn tasty and simple supper that kept me full for ages! I struggled to finish one.
(I managed to eat the second one in the morning though!)

Light but filling, delicious with any ingredients plonked in it and only half an hour to make and cook; this is such a lovely supper, especially with salad, chips and a dollop of coleslaw!

Enjoy!

Love,
Laura xxx

Wednesday, 6 March 2013

Marital Make-Up!

The pictures speak for themselves really!

Last week my husband and I attempted to film a quick video of ourselves having a little make-up sesh. It was actually SO much fun and I laughed so much I cried and snotted everywhere, I managed to escape with both of my eyes still intact, not prodded out with eyeliner.

Unfortunately, little Nahla cried throughout the whole 15 minute video so I thought it would be better to do it again another day, when she was fast asleep in her cot.

That's not to say it wasn't fun though, he did a good job with my foundation, but I did end up looking like a clown.
(The above photos are a few of my favourite stills from the footage!)

So watch this space, 'My Husband Does My Make-Up' video will be coming soon!

Love,
Laura xxx

Saturday, 2 March 2013

Retro-Baby!


The retro/pin-up style depicts romance and kookiness! 
Big animated eyes defined by dark liner and bold bright lips make a proud statement, whereas soft delicate blush and gentle eye makeup creates a whimsical and romantic illusion.

After researching tonnes of photos of people in 'Pin-Up Era' make-up we decided that the rusty reds and muted nude lipsticks we had set aside were not going to be up to scratch for this blogpost.
So, after a quick mooch around Boots, a few new purchases were made...

Bourjois: Rouge Edition- No10
Rimmel: Apocalips
MUA: Lip Liner- Red Drama
Such vibrant, retina-burning reds!


My lovely friend, Lara, achieved this gorgeous look by wrapping a headband around her head and then tucking her loose curls into it, she pulled out a few tendrils at the front to get this beautiful glamorous style. 
As it will soon be festival season, this hairstyle would look amazing with some flowers woven into it to bring out your inner hippie!


Bright lipsticks are a must when going for a retro look.
I am wearing a brilliant new foundation by MUA, 'Undress Your Skin', a random purchase of mine this morning, it covers and blends so well, I will definitely be buying more!


Lara is wearing Rimmel's Apocalips, the colour was amazing and really clung to her lips, the only (hilarious) downside is the amount of product that ended up on poor Lara's teeth. No matter what we tried there was always a few splodges of the sticky lipgloss-style product on her teeth. Not a great look for clubbing, or for a date! 


False lashes, high arched eyebrows, bright lips and big bouncy hair are the key ingredients for recreating this fun look. The lighter the foundation and powder, the better. Anything to achieve  flawless skin, so the attention is bought to the eyes and the lips, is a must.

This is such an easy look to create and would be great for the Summer!

Love,
Laura xxx

Monday, 25 February 2013

OOTD


The past week has been a beautiful, sunny, sparkly week (weather-wise) so I thought 'Why not be a proper blogger and pick out a location to shoot some OOTD pictures?' Excellent idea!
I decided that shooting an OOTD post at our local castle would be such a cool idea! Fashion and make-up within the grounds of a half-ruined Scottish castle seemed to be the best plan I'd had since adding cream to my Bread & Butter Pudding recipe!
Then Saturday came along and it went from sunny and cool, to snowy and SUB-ZERO.


So; it was, with a heavy heart, that my friendling (Lara) and I decided that trudging up the steep embankment of a castle in the freezing sleet whilst wearing short dresses probably wasn't the most medically-safe idea. We decided, instead, to do a quick 60's style eye make-up look on Lara, and a really REALLY quick OOTD post with the fun dress I had thrown on.


I adore the quirky-ness of this dress! It was a rather nifty Primark find and is covered in cute little French Bulldogs, a breed of dog I would love to have! Their ears are so adorable!
The little collar reminds me of school-dresses but teamed with a statement ring and some very high, thin-heeled platforms makes it look a little more grown up.
I intend to wear this dress throughout the Summer, I need to tone my arms to pull the look off a bit better, but all in due course.
It takes 9 months to put on the baby-weight so it'll take 9 months to get rid of it... or so the saying goes.

 I have never laughed so much whilst doing Lara's makeup!
She has the prettiest, most gorgeous features and I am insanely jealous of her cheekbones and her jawline... but her skin seemed to change all of my highlight and contour concealers into different colours! My pearly white highlighter went bright pink when it came into contact with her skin, much hilarity ensued!
I used the Urban Decay Naked Palette 2 to achieve this light smokey look. 
Lara chose the shades:
Verve, Suspect and Busted.
The winged eyeliner was provided by M.A.C and a lovely soft 60's look was born!

(Idiots.)

Despite our plans crumbling around us, the day was fun. We got some pretty photos (see above, especially) and who doesn't enjoy a day of trying out new make-up looks?

OOTD posts might have to be left until the Summer, I'm still warming up after this one!

Love,
Laura xxx
(Special thanks to Lara, who was 'scared of your blog people seeing my face'. I think we all agree that it is LOVELY.)

Monday, 11 February 2013

Mmmm Pie!


It may not be the fanciest looking thing in the world but I love this recipe! My Mama made this pie for me when she stayed at mine to help with my new baby, so the pie embodies everything that is homely and loving in my life, so I thought I would share this SUPER simple and cheap recipe.
It feeds four people... or my Husband in one sitting. 

(Disclaimer: There is no actual recipe for this pie, so there are no measurements or any accuracies like that, it's all done by eye, but it's really easy!)


As well as what is written in the picture above, you will need; Some sort of milky drink (I use Almond milk) and butter for the white sauce, salt and pepper, a vegetable stock cube, garlic oil and ready-roll puff pastry.


Chop up your veggies and extras!
Fry off your onions, mushrooms and extras in a heavy-based pan until they're lovely and brown, then remove from the pan and fill it with boiling water from the kettle (saves time!)
Boil all of your veg in one happy little veggie-Jacuzzi and leave to simmer until the contents are nice and soft.


(Excuse the state of the milk pan, apparently 'dishwasher-safe' does not mean 'dishwasher-safe' these days.)
Next, make a Rue. Add a couple of tablespoons of butter into a pan and melt, then add a few tablespoons of flour and mix until it forms a sort of tacky plasticine. This is when you add your milk, little by little, until the butter and flour has dissolved to make a deliciously creamy thick sauce. Add your stock cube to the sauce and stir in.


Mix your sauce and veggies together then transfer into an oven-proof dish, roll your ready-made puff pastry onto the top of the dish and put into a moderately hot oven (190 degrees) for 20-30 minutes!


Like I said before, it's not gourmet and you won't be seeing me on Masterchef in this lifetime but it's delicious and comforting and so so SO simple and quick to make.
Enjoy!

Love, 
Laura xxx

Saturday, 12 January 2013

Urban Decay Naked 2 Palette Review & Smokey Eye Tutorial


I finally bit the bullet and coughed up the cash to pay for the Urban Decay Naked Palette. I have been in two minds about it for months and months but decided that it would be a good investment, especially for the things I want to do in the future.


 Everything about it is just so stylish, the tin it comes in is lovely and surprisingly heavy. It comes with a double-ended brush, one is for the crease of the eyelid and the fluffier one I use to blend in the colours and to give smooth edges.
The pigment of the shadows are thick and a little goes a long way, this is the first time I've been able to achieve any kind of blending of colours, before the eyeshadows I was trying to blend would just mottle into one horrific colour. Now I'm able to get a beautiful ombre effect.
The range of colours are supposed to be basic nudes, darks and golds that you can use as both a day and an evening look. The bronzes and golds are so shimmery and thick, they're just a delight to use!
The Naked palette definitely puts the fun into putting make up on!


I achieved this brown/shimmery/smokey eye look by blending a lot of colours together and layering.
I started by spreading 'Verve' all over my eyelid (I'll add a photo of all of the shades at the end), particularly towards the duct. Next I blended 'Suspec't into the lid, started from the middle of the eye, I dragged it outwards to form a cat-eye effect. On the outer-corner and into the crease of the lid I applied 'Busted' which is a beautiful chocolate colour. In between all of these steps I took a very fluffy brush and gently blended the corners so get a soft look. 
Lastly, I applied a teeny tiny amount of 'Half Baked' over the darker part of the eye, just to get a light shimmery bronze look.
I love the look, and like I said earlier, this is the first time I've been able to achieve it so I'm really glad I bought the palette and would definitely recommend it to anyone who wants to oomph their eyes!


Wednesday, 7 November 2012

L'oreal Wild Ombres Review

(Excuse my face! Baby N was kicking the hell out my ribs whilst I was taking photos, so it was hard to look chirpy and delighted!)

I bit the bullet and ombred my hair last night! I'm so glad that I did!
It was a pretty easy process but I'd been putting it off for so long. I asked my hair-savvy followers on Instagram if they'd had any experience with it before and I got some really helpful advice, along with some mixed reviews.
I bought two packs from Boots for £6 each, which is pretty good, considering it's only going on half of my hair!
(Disclaimer!! I'm 9 months pregnant and it has come to light that dying your hair during pregnancy is absolutely fine and poses no health risks to you or your baby. Of course, your skin and allergies change whilst your 'with youngling', you should always do a 48-hour patch test before dying all of your hair, you should ideally be doing that anyway, baby or no baby. Apart from that caution, it's fine, I even asked my midwife when I was a few months along, she replied 'What do you think happens to hairdressers when they have their babies?' Good point!)


I chose shade No1 and No3. I planned to see how blonde the first shade made me, if it wasn't blonde enough then I would add the second shade a few days later, after giving my hair a bit of a break!
I loved the wild-themed packaging, and the models, as usual, are gorgeous. giving women, myself included, the delusional thoughts that the hair dye will also change their face to look like them.


Inside the box was the usual plethora of gloves, creams, dyes and powders to help lighten the hair. It came with a caution that instructed that you shouldn't inhale the powder... which was the first thing I did. It was hard not to when it rose from the packet like smoke. I spluttered a bit, but apart from that assembling the dye was very easy.


This was my hair colour before, please excuse the quality of the lighting, I've mentioned in previous posts how photo-taking in my house during night time is a no-go area. My lights make everything look yellow and orange!


The dye was easy to apply, you're given an application brush which you load with the dye and comb through your hair. I have medium to long hair so started my gradient just under my ears. I noticed my hair started to lighten straight away. I left it in for 45ish minutes, it was very obviously a lighter colour than the rest of my hair towards the end!


My shampoo and conditioner of choice at the moment is TREsemme's Keratin Smooth, which is great if you have hair that gets bullied by you on a daily basis!


Here's the end result! I wish I'd blended it a bit better, there are a couple of places where the line between brunette and blonde pretty much STARES you in the face. If I curled it it would be hidden, but I can't be bothered! I love the subtle colour it's created, I was so worried that it was going to go bright ginger!


I'm impressed with the first half of my ombreing journey! I plan to add the second shade into the ends of my hair in the next couple of days. I think it'll be more blended then and look more professional.
I'm a huge fan of this hairstyle, its a bit different, although everyone's doing it now! It adds texture and colour to an otherwise boring shade of brunette!